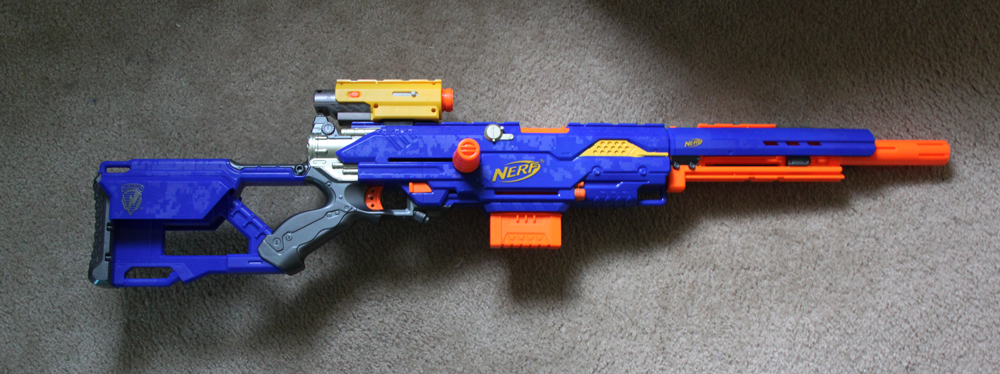
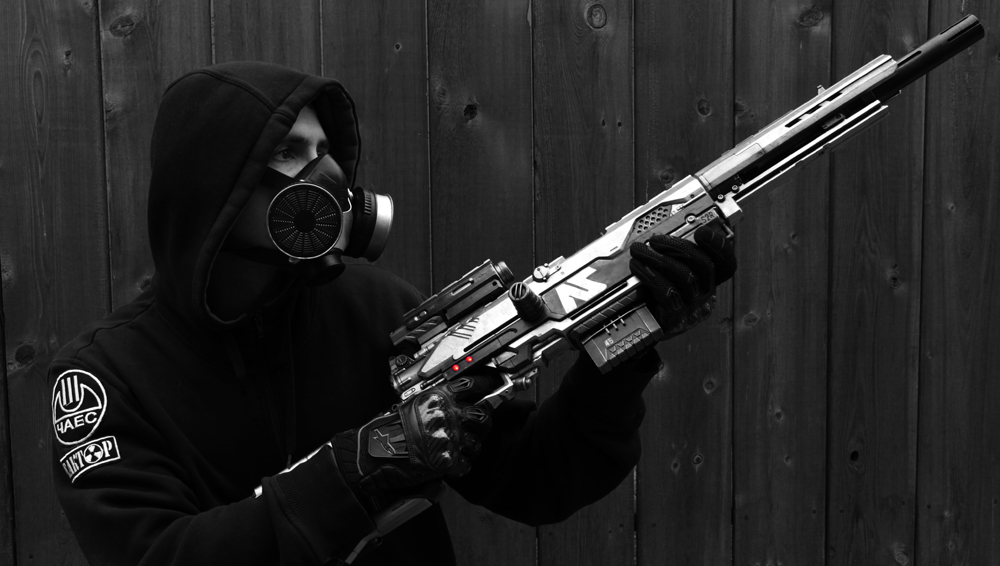
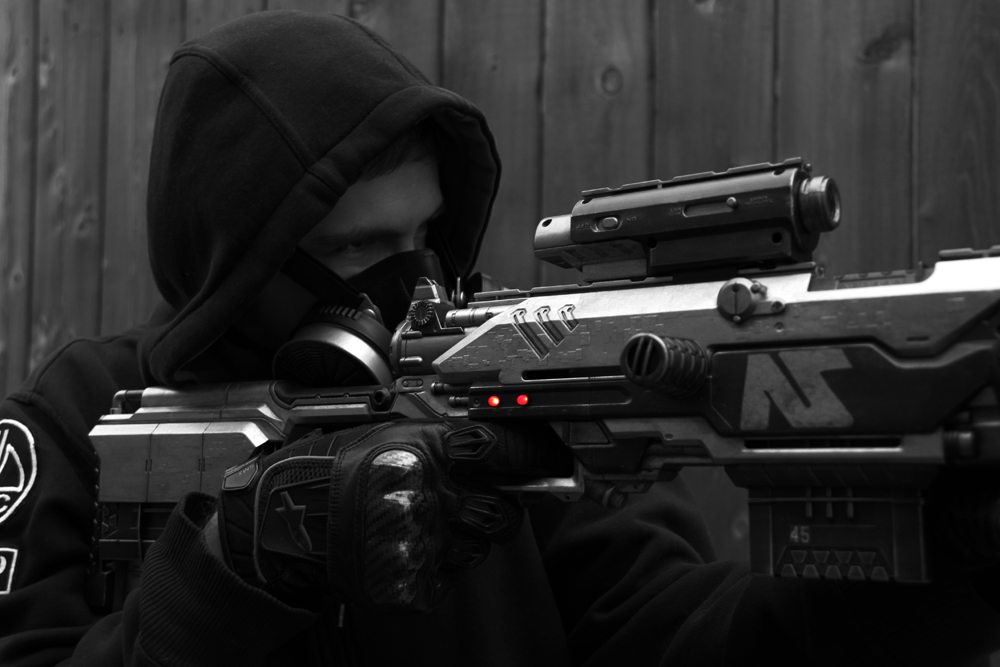
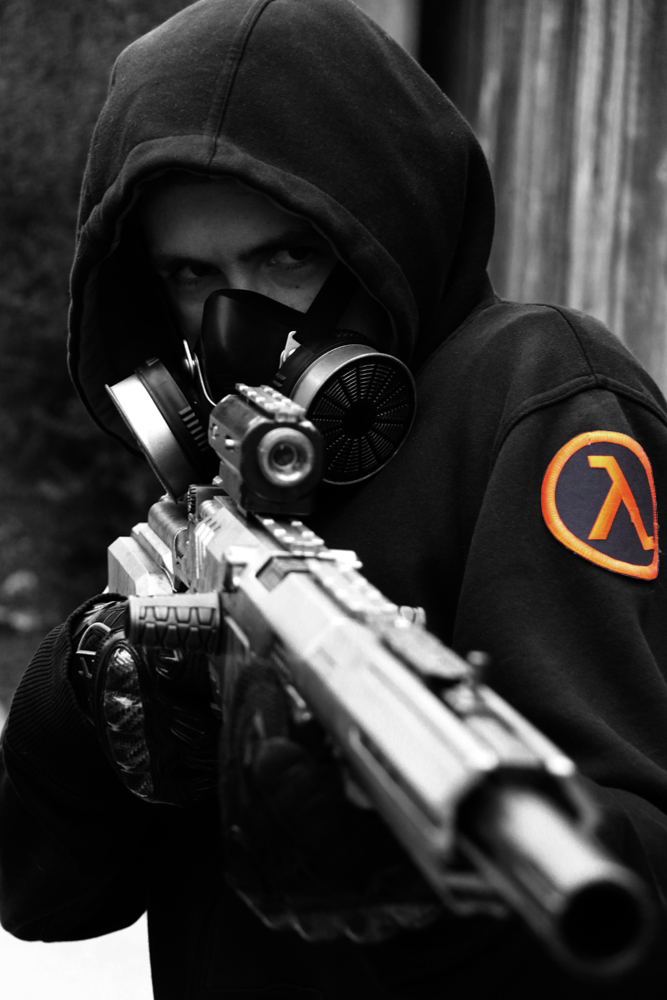
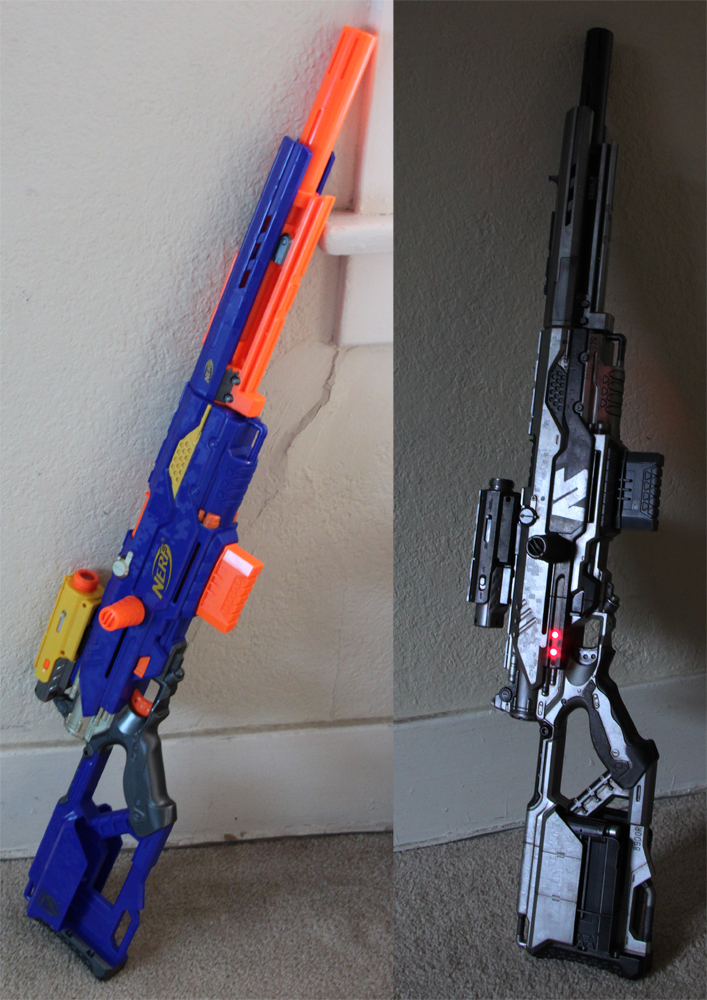
I needed a break from the digital world and decided to create a custom loosely based on the guns from the PlanetSide Universe. I started with a Nerf Longstrike along with a few additional pieces scavenged from other Nerf guns and some other parts.
I painted over it in photoshop to work out a concept. Ultimately I decided to go with a Nanite Systems paint scheme instead of the Terran Republic version I painted here.
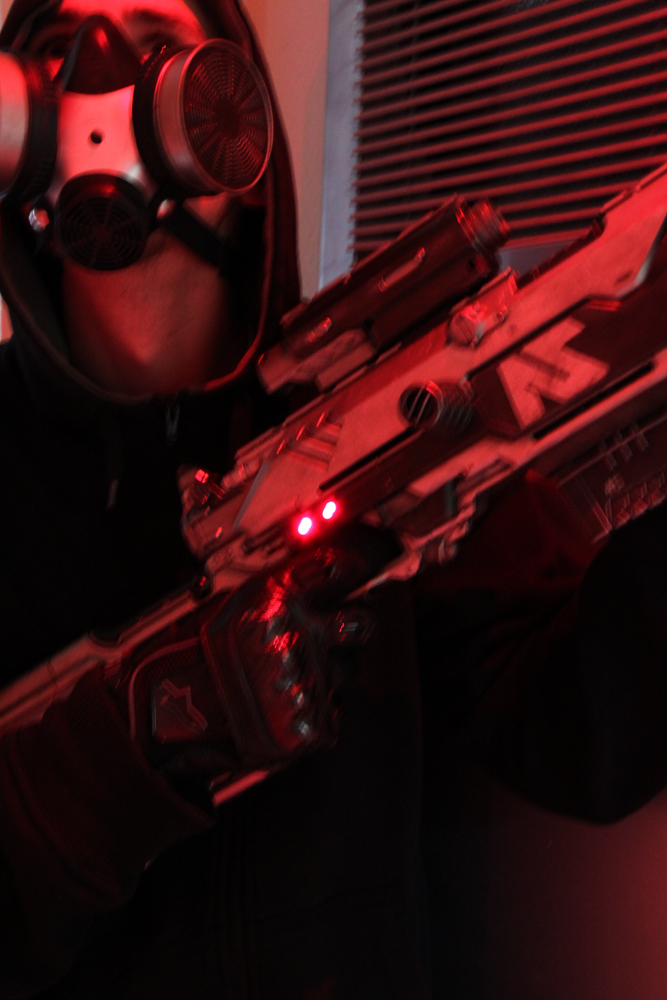
The plan was to repaint the gun, add some LEDs and mount a laser diode in the sight. I didn’t have the time for the laser, but the LEDs added a really nice visual touch.
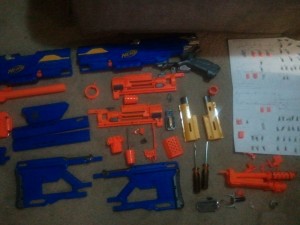
I took the gun a part and created detailed schematics of where all the screws and parts went. There was over 50 screws, and at the end I only lost 1.
I sanded and prepped all pieces by washing them in a soapy mixture to remove the mold release and then sanded all the logos off the gun. I added a base coat of Krylon Fusion paint. This gave it a smooth surface to work on. Always wear eye protection and a respiration to avoid breathing in paint.
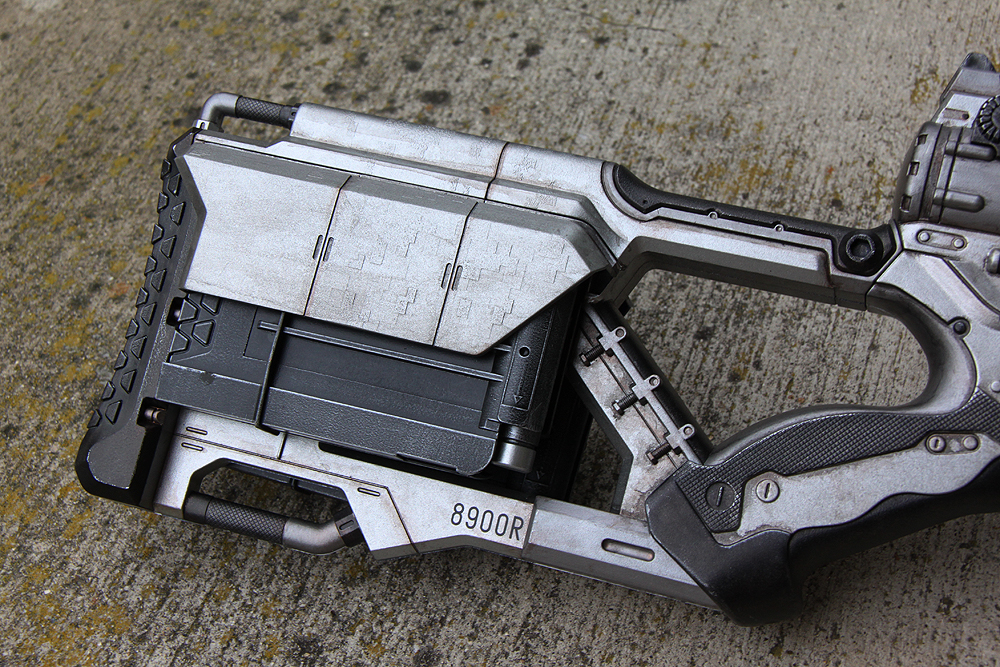
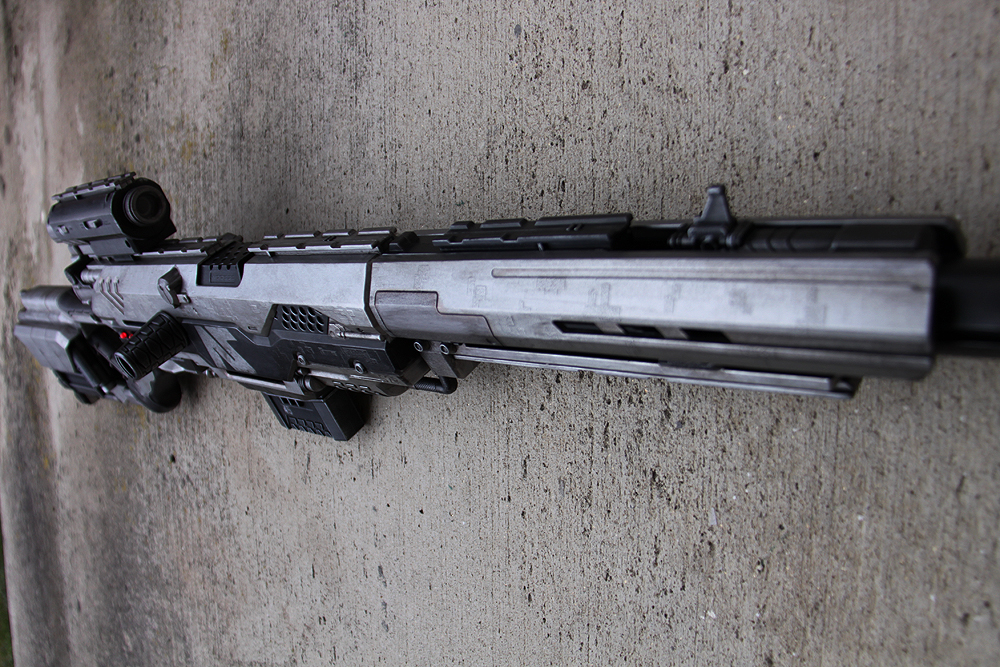
I laid down a few coats and let the paint dry over night. I then brought everything inside to begin detailing. I used Games Workshop Citadel paints to detail the gun. Chaos Black, Bolt Gun Metal, Mithril Silver, Tin Blitz, and Codex Grey got the job done.
I also used a special paint meant to heat seal BBQ’s which creates great tooth. When you dry brush those areas it creates a very convincing worn metal look.
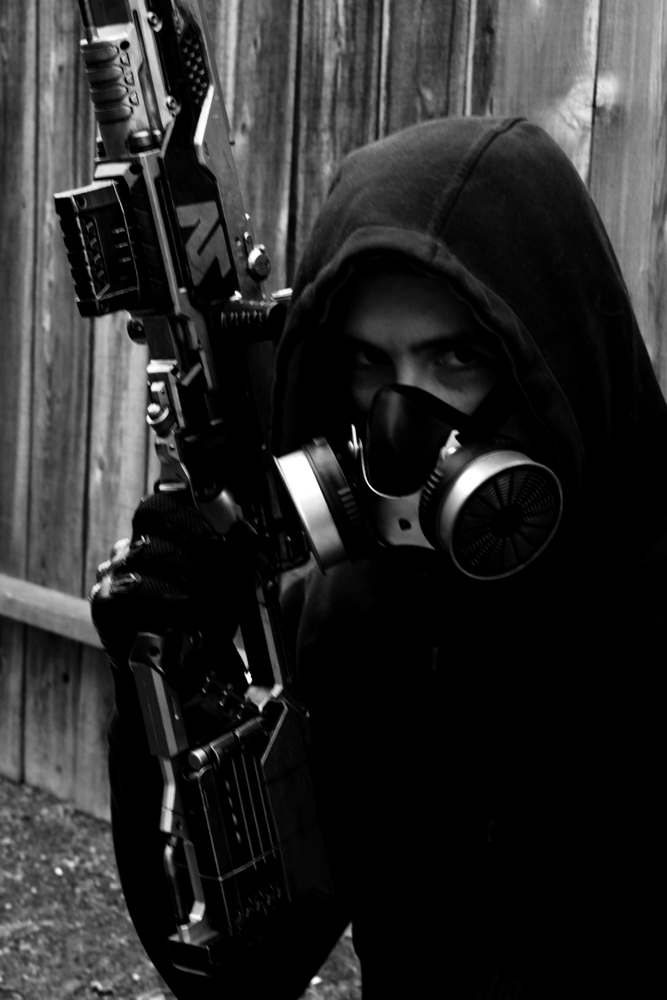
I drilled some holes in the body and installed the LEDs which Roy helped me with again. I also bought some dowels and cut them to the same size as bullets and filled up the clips to give the gun some weight. Here are the final pictures!




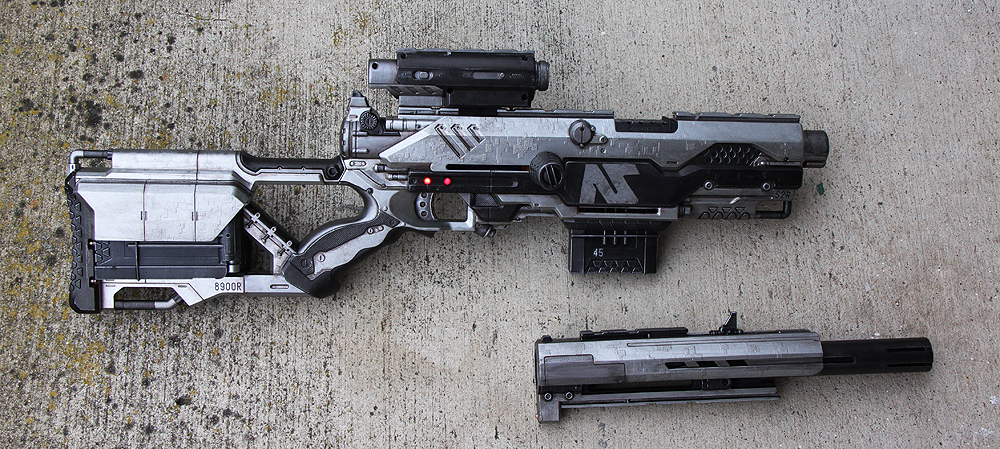
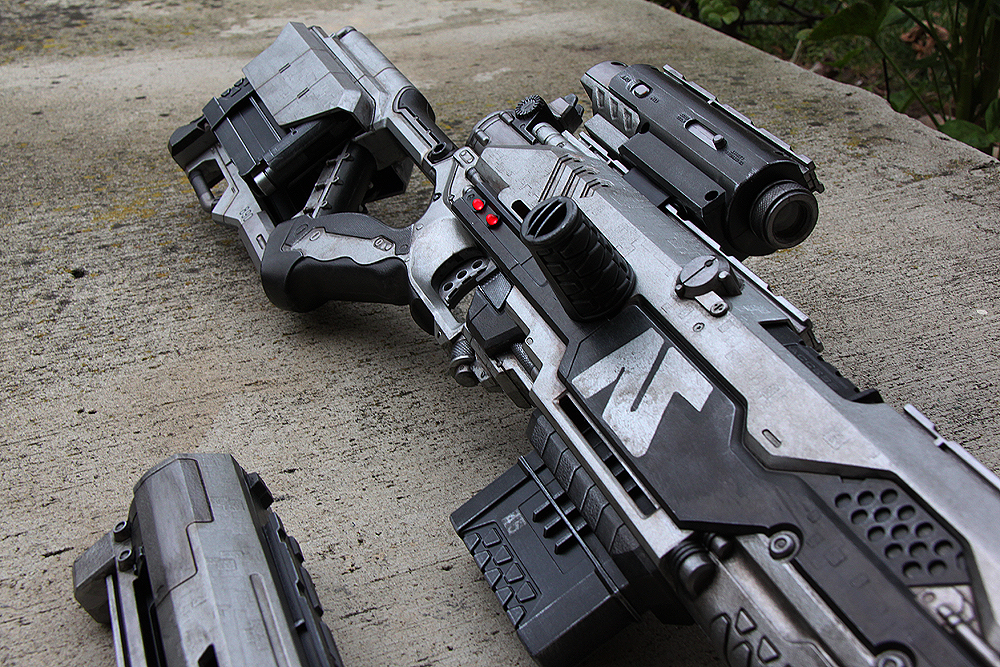

This is so awesome Steve! I love it!!!! Great job. Also, thanks for bringing it by my desk so I could check it out. =D
Dam, that looks sick, now try to make MCG.
NC for life !
Three questions…
First, does it still fire nerf darts? Or did the thickness of the paint render the gun inoperable?
Two, can you give a more detailed guide on how you painted it? I’d love to give this a shot someday if I had some free time, but I’m not much of an artist and I’d appreciate a description of the techniques you used (especially the drybrush technique that creates that worn metal look that is beyond awesome).
Third, if the gun still fires, would you ever consider making a second for the right price? I’ve got a buddy in my office that peppers me with nerf darts from time to time, and I’ve been looking at getting a weapon with which to retaliate… This would be beyond awesome 🙂
Hello!
Unfortunately, this version no longer fires darts. This is mostly because I had to run wires and mount a battery pack inside to power the LEDs. There are some issues that arise when painting and maintaining functionality, mostly size and friction. Most of the parts have mold release present which allows the pieces to be easily removed from the plastic mold and it acts as a lubricant between the moving pieces. When you prep the surface you remove the release so that paint will stick which in turn creates thickness and friction between the parts. If you’re careful you can paint around those areas, but generally you’ll be left with some visible areas of the gun that are still orange.
I’d be happy to write up a brief tutorial on painting techniques, but I may not have time as I’ll be traveling over the next few months. Dry brushing is relatively simple and involves taking a dry paint brush, applying a little paint, and then rubbing the brush back and forth on a paper towel until almost all the paint has been left behind on the paper. You then lightly dust the surface you which to paint with the brush. It can be time consuming, but with a little practice you’ll be able to get the right amount of paint for the application. It’s always better to have not enough paint than too much.
At this time I can’t take any commissions, but I’d recommend doing some research on a particular gun you like and then finding a guide on modding it to fire faster to get the upper hand.
Thanks for the comment!
This is just awesome. Thanks for inspiration, man!
Finished my first nerfgun paintjob day ago, really liked the process. Made lot of wrong moves but I’m learning.
http://dl.dropbox.com/u/22893679/nerfgun.jpg
Working on longstrike now.
Got a question: which paint do you use for drybrushing highlights on black parts?
This looks great! Very nice work. I’d recommend using mithril silver from games workshop. It’s part of their Citadel series I believe, though any metallic silver paint should work fine. Keep up the great work and feel free to post some finished photos or a link to your work here in the future.
SHUT UP AND TAKE MY MONEY!!!!
But seriously, great job on this build. I’ll be attempting this soon but with a working model and an actual scope. Nerf wars here I come!
Would you be willing to reveal the exact brand of the BBQ sealer paint you used?
Just fantastic work, by the way. Wow.
Hey Rikk, thanks for the kind words! I used Krylon BBQ and Stove paint – though I used it as more of a primer than a sealer. Post images of your project when it’s done, I’d love to see it!