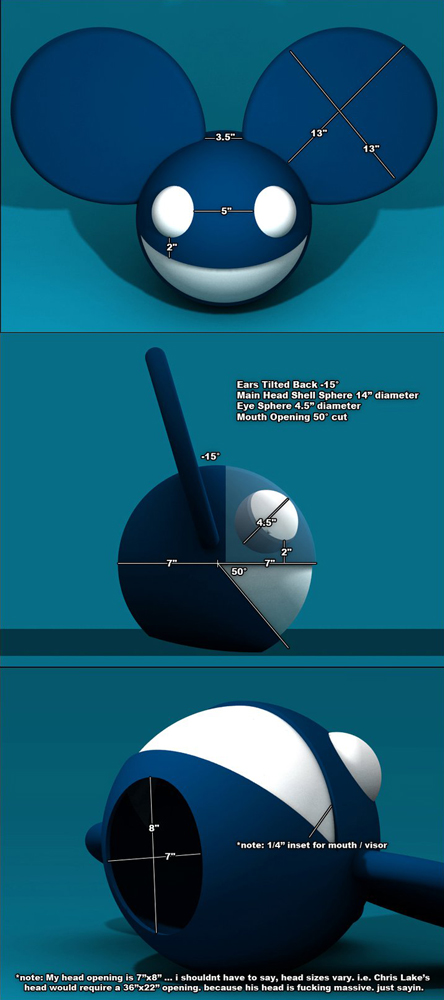
Alix and I were going to the Deadmau5 show at Petco Park in San Diego on the 28th of October and being so close to Halloween we decided to make our own deadmau5 head to commemorate what would surely be an amazing night. A few weeks before the show I went online and found schematics detailing the size, angles, and proportions that make up the very distinct look of the iconic mask and we went to work! We also found an excellent guide on instructables.com which made this project possible.
The full list of materials we used was staggering and took a few days just to find online and at least two weeks before they all arrived.
Materials:
14” acrylic lamp post globe with 5.5” neckless opening
6” acrylic lamp globe
4’x8’ Dow blue extruded polystyrene Styrofoam sheet 1/2” thickness
12” fully threaded rods 8/32” diameter (4pcs)
1 ¼” fender washers (4pcs)
8/32” wing nuts
Professional grade ratcheting hard hat
4 ft El Glow Wire
Lighting for eyes – 10x Super Brite Blue LEDS
2yds fabric
Hot glue gun and glue sticks
Liquid Nails for foam adhesive and applicator gun
Clothes steamer
Ball end sewing pins
Dremel with bits for cutting, sanding, and drilling
Jigsaw or open ended hacksaw
Fabric measuring tape
Scissors
Single-edge razor blades
Small jaw clamps
Metal Mesh Food Cover Dome
Nylon tights or sheer chiffon for mouth
Electrical or duct tape
Poster board
Sharpie marker
Safety Glasses
Protective Gloves
Wire cutters
Rubbing Alcohol
The first step involved taking careful measurements around the globe (which came from a lamp post depot) to cut the holes for the neck opening and mouth. We used to a dremel to cut the acrylic and then sanded the edges smooth.
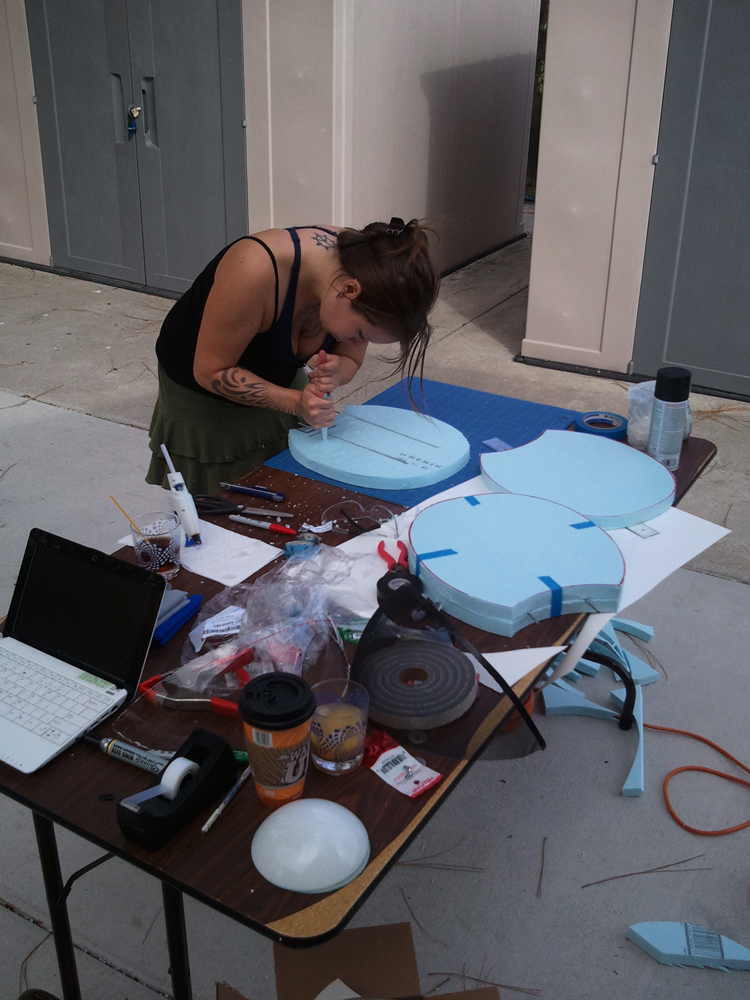
The ears were cut from a special type of light weight insulation in four pieces with threaded rods run through the centers. This way we could thread them through the top of the helmet with washers and wing nuts so we could remove them when needed. This made the ears incredibly durable and secure.
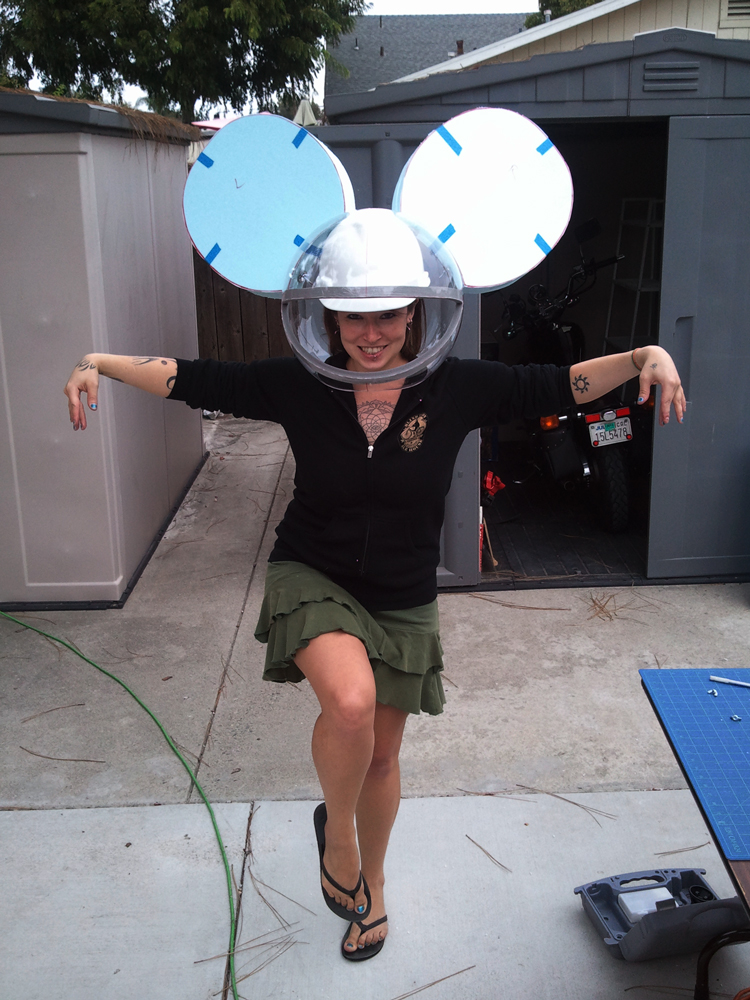
We added an industrial adjustable hard hat inside the globe for fit and comfort. I’d be wearing this for a number of hours so comfort and stability were critical. We secured it inside the helmet by drilling a number of holes through the top and flooding the space between with hot glue.
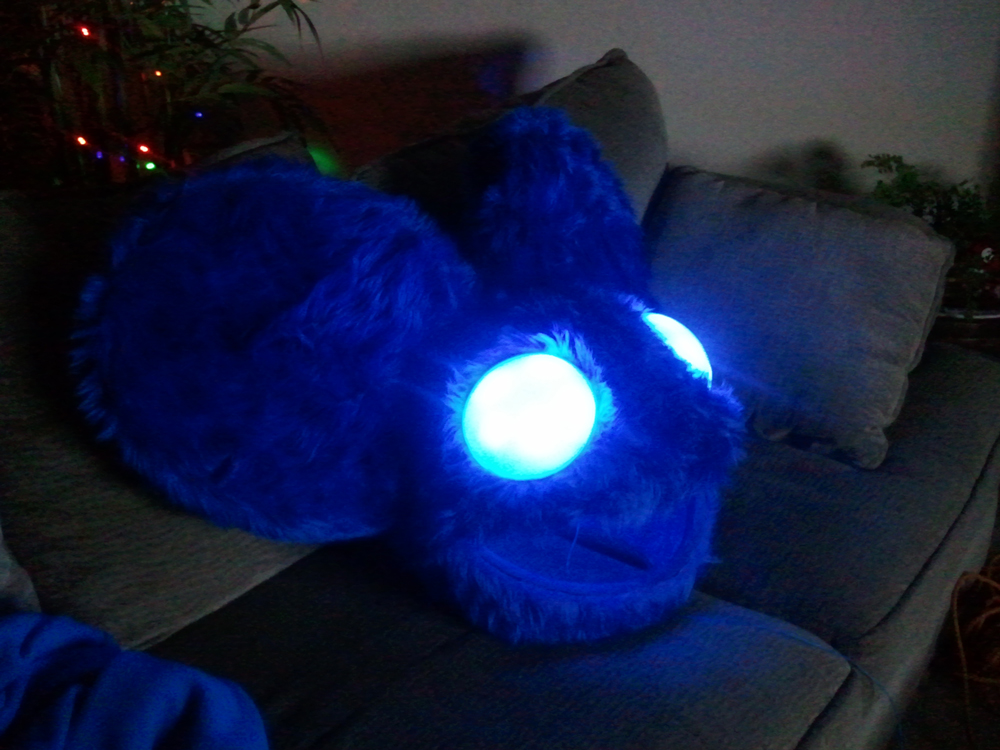
Alix had a few extra yards of this amazing soft and furry fabric that made our deadmau5 helmet really stand out. It made a huge mess putting it together, but the final results were amazing.
The mouth was made from a screen dome used for keeping bugs off your food while camping. The diameter and curvature matched the size of the dome perfectly. All we had to do was cut out the shape, spray paint it black and then wrap it in a see through fabric.
I wanted the mau5 head to be visible from space so I enlisted the help from my friend Roy who rigged up some custom circuit boards powering 10 of the brightest Blue LEDs you can buy. We also wrapped some blue EL Glow wire around the eyes and the outside of the mouth.
Here is a test with everything in place. I attached the domes to the head with hot glue after shaving the excess fur away to make a secure seal.
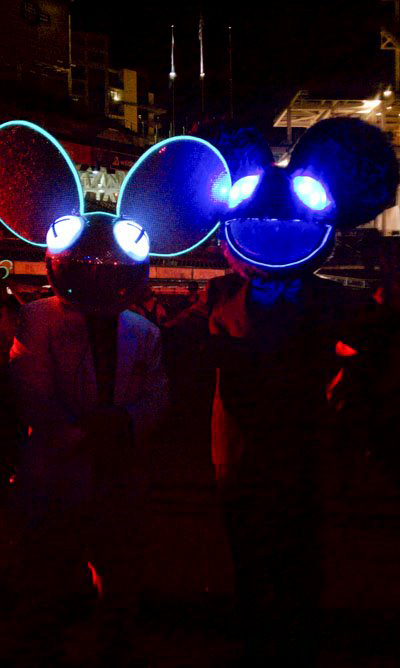
At the deadmau5 show we were constantly mobbed by fans taking pictures and making offers for the helmet. There were a lot of others who made their own helmets and it was a blast to take pictures and meet all the wonderful people who made the event special. Almost everyone was in costume and besides a slight neck ache the next day everything went according to plan. Out of the 500+ photos we took, we only managed to bring one back with us.
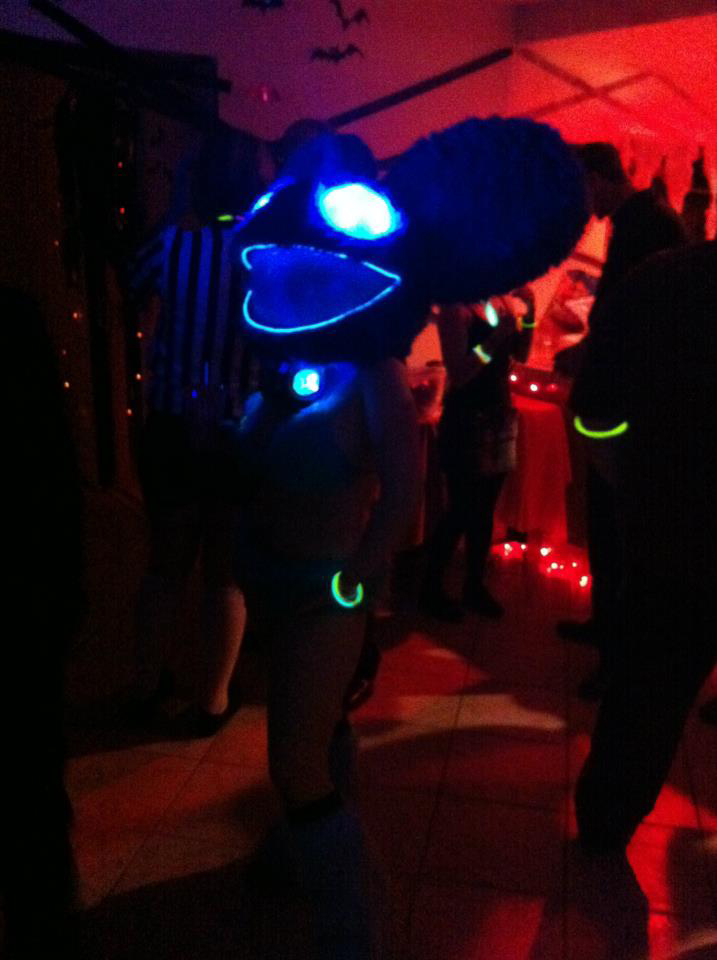
We went to another Halloween party later that week and managed to snap and few more shots.
We took the head around town for a few nights and had some fun with people around the community. Here is Collette from Zia’s pizza rocking the mau5!
A local drummer played a whole song while wearing the mau5 which was more entertaining than this picture suggests.
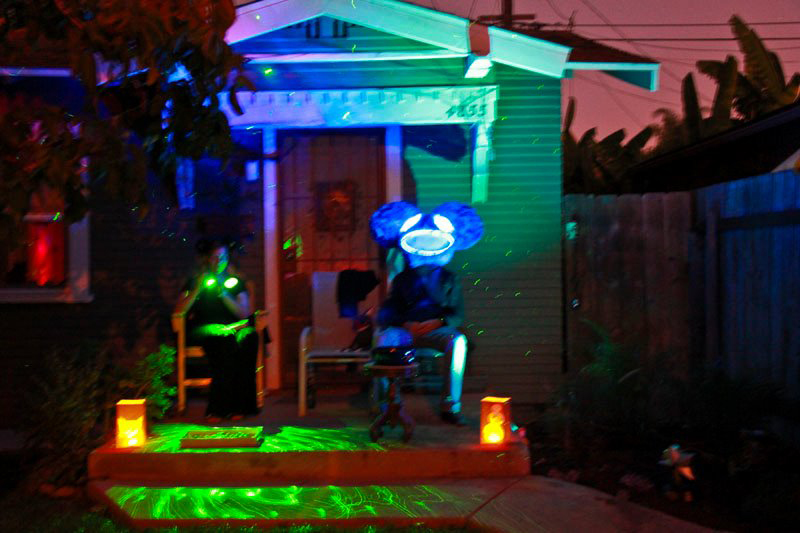
We handed out candy to the trick or treaters the next night and while most of the little ones thought I was Lilo from the Disney movie surprisingly a lot of people recognized me as the mau5!
Here is a demo video outlining the features of the mau5 head!
Thanks for reading!









Great job on the mau5head and I hoping to emulate the work you have done.
I just had a question on the styrofoam: where did you find that specific type of styrofoam?
Thanks! You can get the styrofoam at any hardware store, like Lowes or Home Depot.
This is the best example and explanation I’ve seen so far. I’m planning on making myself one for Halloween and I’m trying to get my friends into it also, because where I’m from there’s barely people who listen to Deadmau5. So I’ll be heading around public places and just start dancing with my friends to get noticed. 🙂
I’ll be doing a simple black and orange style head. Maybe later on, I’ll start adding some new things to it.
Thanks a lot, this really helped me a whole bunch and your Mau5 head looks freaking awesome! 😀
Thanks so much! When you finish feel free to send some pictures my way!
Great Mau5 head. I am helping my 9 year old son build one. We love that you used quality parts for best authenticity. My question is about the eyes. I see in your first picture with two 6″ acrylic lamp globes. Did you use two globes or cut one globe into 4.5″? Thank you
I originally bought 2, but I found I could get two 4.5″ pieces with just one. I would recommend getting 2 just in case you break one. One night while carrying the mau5 head some drunkard snuk up behind me and grabbed it right out of my hands. I chased him down the street and he dropped it breaking one of the eyes, so I was able to make a replacement from the extra I had.
Good luck with the project and send some pictures my way when you’re done!
Check out the finished pictures by Clicking on my post name above: Cthulhu
Great work man! It looks awesome. Get lots of compliments?
Oh Yeah – compliments galore. His school mates were trilled and made him the talk of the school. My brother wants to buy it. But I think were going to hang on to it for a while. Maybe I’ll take it to a festival. Do you know of any events around Northern California with a Deadmau5 appearance?
Ok… roys LED set up is kick ass… can he possibly make some for me. i have pay pal, i want some with 5 red LED’s in each eye so long as he leaves wires for the posi and negative i would be more than happy to do business with him.
kick ass helmet by the way! ive ordered my parts and hope to finish mine by next week!
Where did you find the mesh food covering? I been doing mine from flat mesh and having to bend it and sucks. It looks so much less painful getting the pre shaped mesh lol
Hey Jake,
I picked mine up here!
It’ll cost about $11 shipped. I spray painted mine flat black and then attached the fabric on top. The diameter should match up with the head dome perfectly!
Good luck!
Hey! sick head bro! I just got this head from a friend that did not want it any more. He’s fabric sucks you can say.. Is there any way.. to replace that fabric with a better one.?
If he hot glued it on, it will be tough to remove, but not impossible. It will end up being messy but you can cut into it with a box cutter and start stripping away pieces. Just be careful not to puncture or break the dome underneath.
Awesome head! Great tips too. Im currently making my own head to wear to the Contact Festival in December where Deadmau5 is playing. Im wondering if you could give me more details on attaching the hard hat to the globe. Thanks!
We sanded the top of the hard hat so the hot glue had something to grab on to. Then we drilled holes through it in various places so the glue could seep through to the underside. We just used tons of hot glue and it’s pretty much permanent so make sure you have the placement you need before you commit!
I’m in California, socal. I cannot find 1/2″ dow blue styrofoam anywhere here! DOW! FAIL!
We found ours at Lowes in San Diego. It comes in massive sheets that will be either white or blue. It was difficult to find without asking for help at the store. Good luck on your quest!
could you guys please email me im trying to get one of these made but am not atristly inclined to make one plus do not have the time i would like to pay for you guys to make one for me please email me
How did put on the fur did u super glue it, because this helmet is amazing dude lol
Hey how did that type of fabric on the globe did you use spay adhesive or did you hot glue it please get back to me as soon as possible cause I am currently stuck on how to put the fur fabric on the globe or email me at vincentgalvan4@yahoo.com
Thank you.
Sorry typo how did you put that type of fabric on the globe.
Hello Vince,
We just used a hot glue gun and made a zig-zag pattern on the globe.
Hope this helps!
Thanks man this helped a lot.
Hey where can i get a led set up like that? trying to make one for tomorrow world 2014
I am having an issue finding the lights you used for the eyes. Can you help me out please?
They were custom built, I got the LEDs at Frys Electronics, and the EL Glow wire from Amazon.
Not sure if it’s possible, but my 12 year old is begging me to make this for him to wear to his first school dance in 13 days. I’m fairly handy, but have not done anything like this and don’t have a whole lot of room for mistakes if we’re going to do this. I know it’s asking a lot, but any chance I could get more detailed instructions? I watched the video, read through the discussion question and answers, and looked over all the dimensions, all of which are extremely helpful. I must say, I have been looking over the different DIY deadman helmets and love the look of this one the most by far due to the dimensions/placement. Very smart that it is tilted forward before making the level midline, and love the thickness of the ears.
Anyways, it’s a shot in the dark, but if it’s possible, it would be very much appreciated by my son and I, and If not, it’s equally understood.
Thanks for your post though. Still some of the best info I’ve found!
Aaron